Plug & play! Just connecting Sensor head and Controller.
ZG2
Smart Sensor (2D Measurement Sensor)
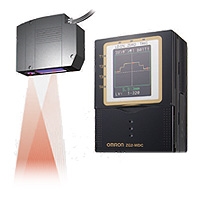
2D Laser Profile Measurement System. ZG2 debut! Achieving stable measurement through innovative technology.
- Features
- Lineup
- Specifications
- Dimensions
- Catalog
last update: June 2, 2025
Easier and much more accurate for profile measurement
Stable measurement regardless of color, material, and shape complexity
Simple configuration
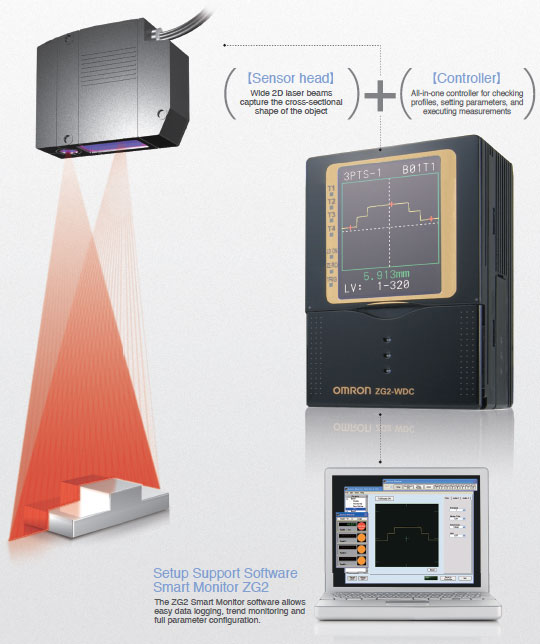
* Equipped with sensor controller ZG2-WDC_1A as standard.
A wide variety of measurement items

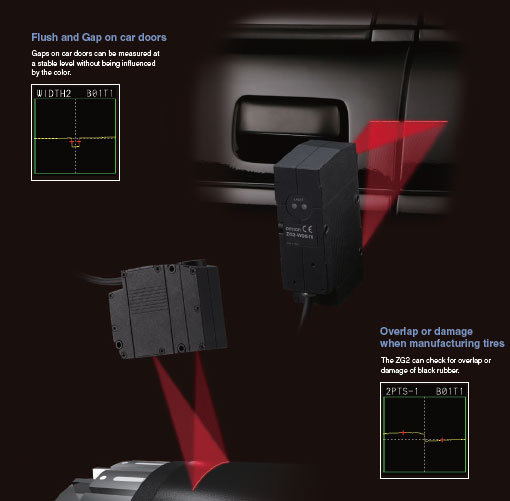
Painted object and black rubber
12x the conventional sensitivity
7x the conventional ambient illumination
Dark colored materials or materials with a matt finish, like black rubber often do not reflect sufficient light to maintain a stable measurement. They are also susceptible to the influences of ambient light so are difficult to measure using conventional laser measurement sensors. The ZG2 solves these problems because it is supersensitive and significantly reduces ambient noise. It also has an APS function to automatically tune parameters such as a receiver’s sensitivity and background suppression level at optimal levels according to the ambient light conditions. Shape profiles can also be easily reproduced at optimal conditions to achieve high precision measurement.
Measurement of moving objects is possible because measurement can be performed within a short exposure time.
* For details, see descriptions of the APS function (Catalog) and new optical system ONPS (Catalog).
Inclined transparent object or glossy object
2.5x the conventional inclination tolerance
On an object with strong regular reflection components such as luster sides and transparent objects, the amount of light reflection significantly reduces when the object is slightly inclined, lowering measurement stability. The sensor head ZG2-WDS3VT with a high-performance gauss lens is the solution for the problem. Its inclination acceptance range has been increased to 2.5 times as compared to conventional models so transparent objects can be measured up to a ±5° inclination at a stable level. Because the ZG2 has this function, it is useful for assembly inspections for lenses and glass plates.
* For details, see descriptions of the high-performance gauss lens (Catalog).
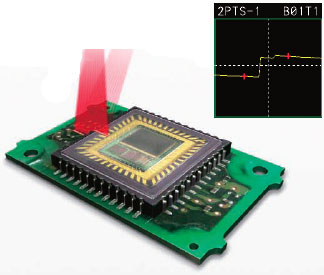
Assembly inspection of electronic parts
The ZG2 can measure parts with glass or a glossy object such as CCDs, CMOSs, and crystal splinters of quartz resonators at a stable level. It can be used for assembly inspections of parts because it can measure steps on a substrate or package side.
Assembly inspection of lenses
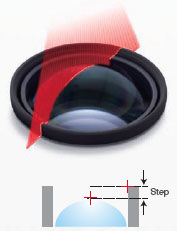
The ZG2 can measure the step between the peak of a lens and lens holder to check if they are assembled properly.
High-speed takt-time line
10x the conventional speed
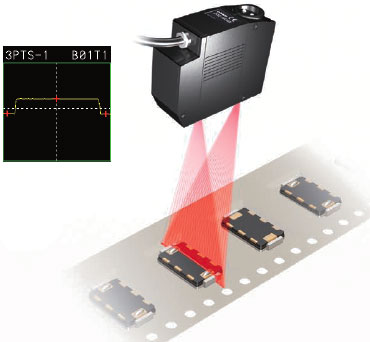
Reproducing a clear, stable profile is difficult for objects with both black and metal sides, cylindrical objects, and complex-shaped objects because the amount of laser reflection and reflection angle differ according to the positions of different materials on such objects. To solve the problem, Omron's unique "multi-sensitivity function" has been improved. The measurement speed for the function has been increased so that the function can be used in high-speed takt-time lines.
* For details, see descriptions of high-speed multi sensitivity (Catalog).
Measurement of wide target
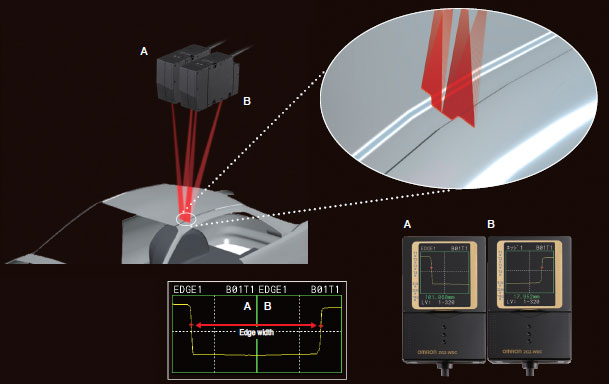
Two sensor controllers are linked and two sensor heads perform synchronous measurement to increase the measurement range to 140 mm. With the link method, the ZG2 Series provides the optimum solution for any intended purpose.
Measurement by finding the inflection point of the object
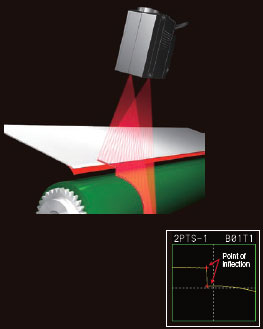
The sensor has a measurement function to capture points where an angle varies on a target as an “inflection point.” This function enables the measurement of a step or edge width of a feature point of a target.
Measurement of position and angle of intersection
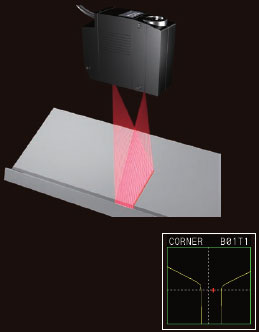
The sensor has a function to measure the “intersection coordinates” and “intersection angle” on two linear lines on a target. An example of a useful application of this function is tracer control for a welding torch for targets to be welded.
Simplified Sensor Head Adjustment
The “installation correction function” automatically makes adjustments to parallelly align the sensor head with the target. The function eliminates the gap between the reference plane and sensor head inclination caused during setup and in turn significantly reduces the time spent for adjustment during the setup of the sensor head.
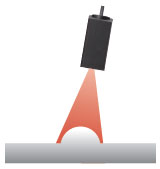
* When inclination is great, a measurement error may occur. Check the measurement accuracy in actual measurement conditions prior to use.
Intuitive setting
Basic setting requires only three steps. Omron's unique interface maximizes the sensing performance with extremely simple operation.

* Screen images are simulated.
Simultaneous measurement of two or more points
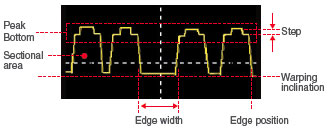
Measurements can be performed for up to eight measurement points selected from a profile simultaneously so different types of inspections can be carried out at the same time when necessary. Measurement items can be selected from among 20 items including edge width, height, inclination, step, and sectional area according to the intended purpose.
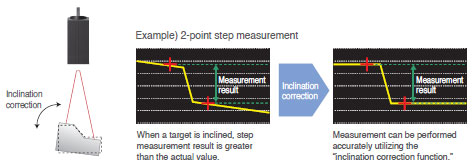
Active Position Compensation Control
The position and inclination are automatically corrected even for targets for which positioning is difficult. This helps to perform stable in-line measurement.
Data Storage and Trend Analysis
A data storage unit is now available for storing measurement values and profile data.
Data can be loaded on a PC from a memory card or via serial communication and can be used to manage manufacturing history, monitor tendency, or analyze defects.
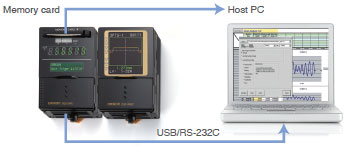
* For logging capacity, see System Configuration (Catalog).
Large Programme Capacity
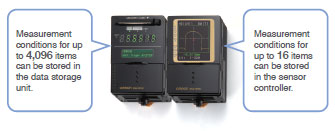
Measurement conditions for up to 16 items (16 banks) can be registered in the sensor controller unit. Banks can be easily switched by inputting a signal, inputting a command, or operating a key. When the data storage unit is used, up to 4,096 banks can be registered for quick response to flexible production lines.
last update: June 2, 2025